July 31, 2026 · 6 min read
5 Easy Crochet Bag Patterns for Beginners (No Seaming, Made in a Weekend)
A crochet bag is one of the most satisfying things a beginner can make — it's useful the moment it's finished, it shows off your stitches, and (unlike a jumper) it doesn't have to fit anyone. The trick is choosing an easy crochet bag pattern that's written for beginners: simple stitches, minimal shaping, and as little seaming as possible. Below are five beginner-friendly bags, every one delivered as an instant-download PDF with photo tutorials so you can start today.
Why a bag is the perfect first crochet project
Bags are forgiving in all the ways garments aren't. There's no gauge-perfect fit to hit, no sleeves to match, and a slightly uneven row simply disappears into the texture of the fabric. Most beginner bags use nothing more than single crochet, double crochet, and a slip stitch — the first stitches you ever learn — repeated over a nice big surface so your tension has room to settle. Work a bag and you'll come away a noticeably more confident crocheter.
Every pattern in our crochet collection is written in US terms, names every stitch, and comes with step-by-step photos, so you're never left guessing what "work even" means.
What makes a crochet bag pattern truly beginner-friendly?
- Seamless construction — worked in rounds or folded from one flat piece, so there's little or no sewing up.
- Basic stitches only — single and double crochet do almost all the work.
- Worsted or chunky yarn — thicker yarn grows fast and hides small mistakes.
- A written pattern and photos — so you can see the tricky moments, not just read them.
- A finished object you'll use — motivation matters; pick the bag you actually want to carry.
The 5 easiest crochet bags to start with
1. Warm Minimalist Crochet Hobo Bag — seamless and stylish
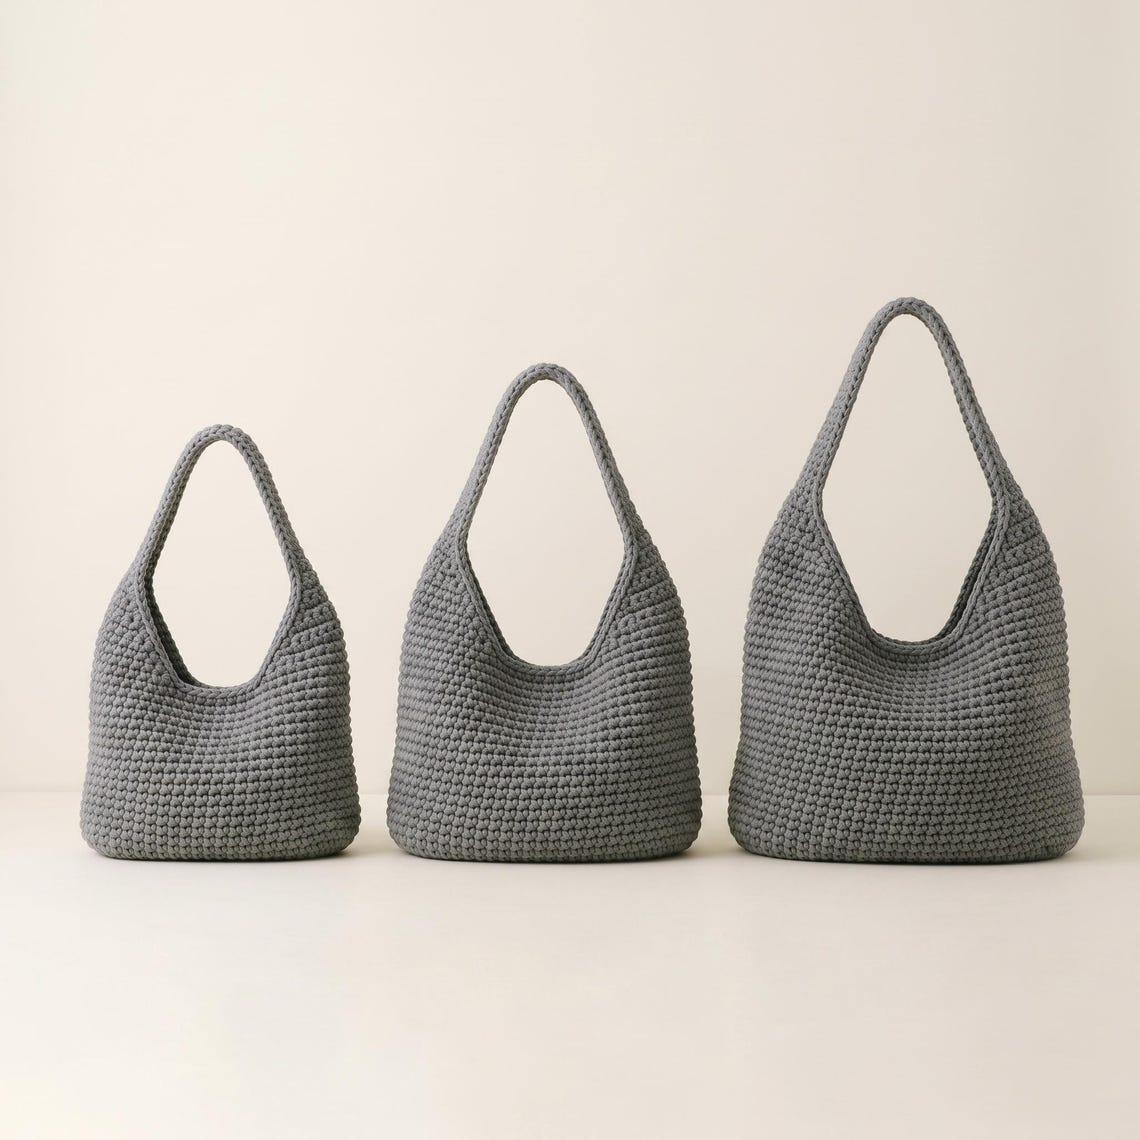
This is the one we hand to nervous beginners. The Warm Minimalist Crochet Hobo Bag is worked as a seamless tote — no panels to line up, no lumpy side seams — in a simple repeating stitch that gives it a lovely, dense fabric. It looks like something from a boutique shelf, but it's honestly just rounds of basic stitches. If you want one bag that proves to yourself you can crochet, start here. See the Crochet Hobo Bag pattern →
2. The Audrey Crescent Purse — a small, quick confidence build
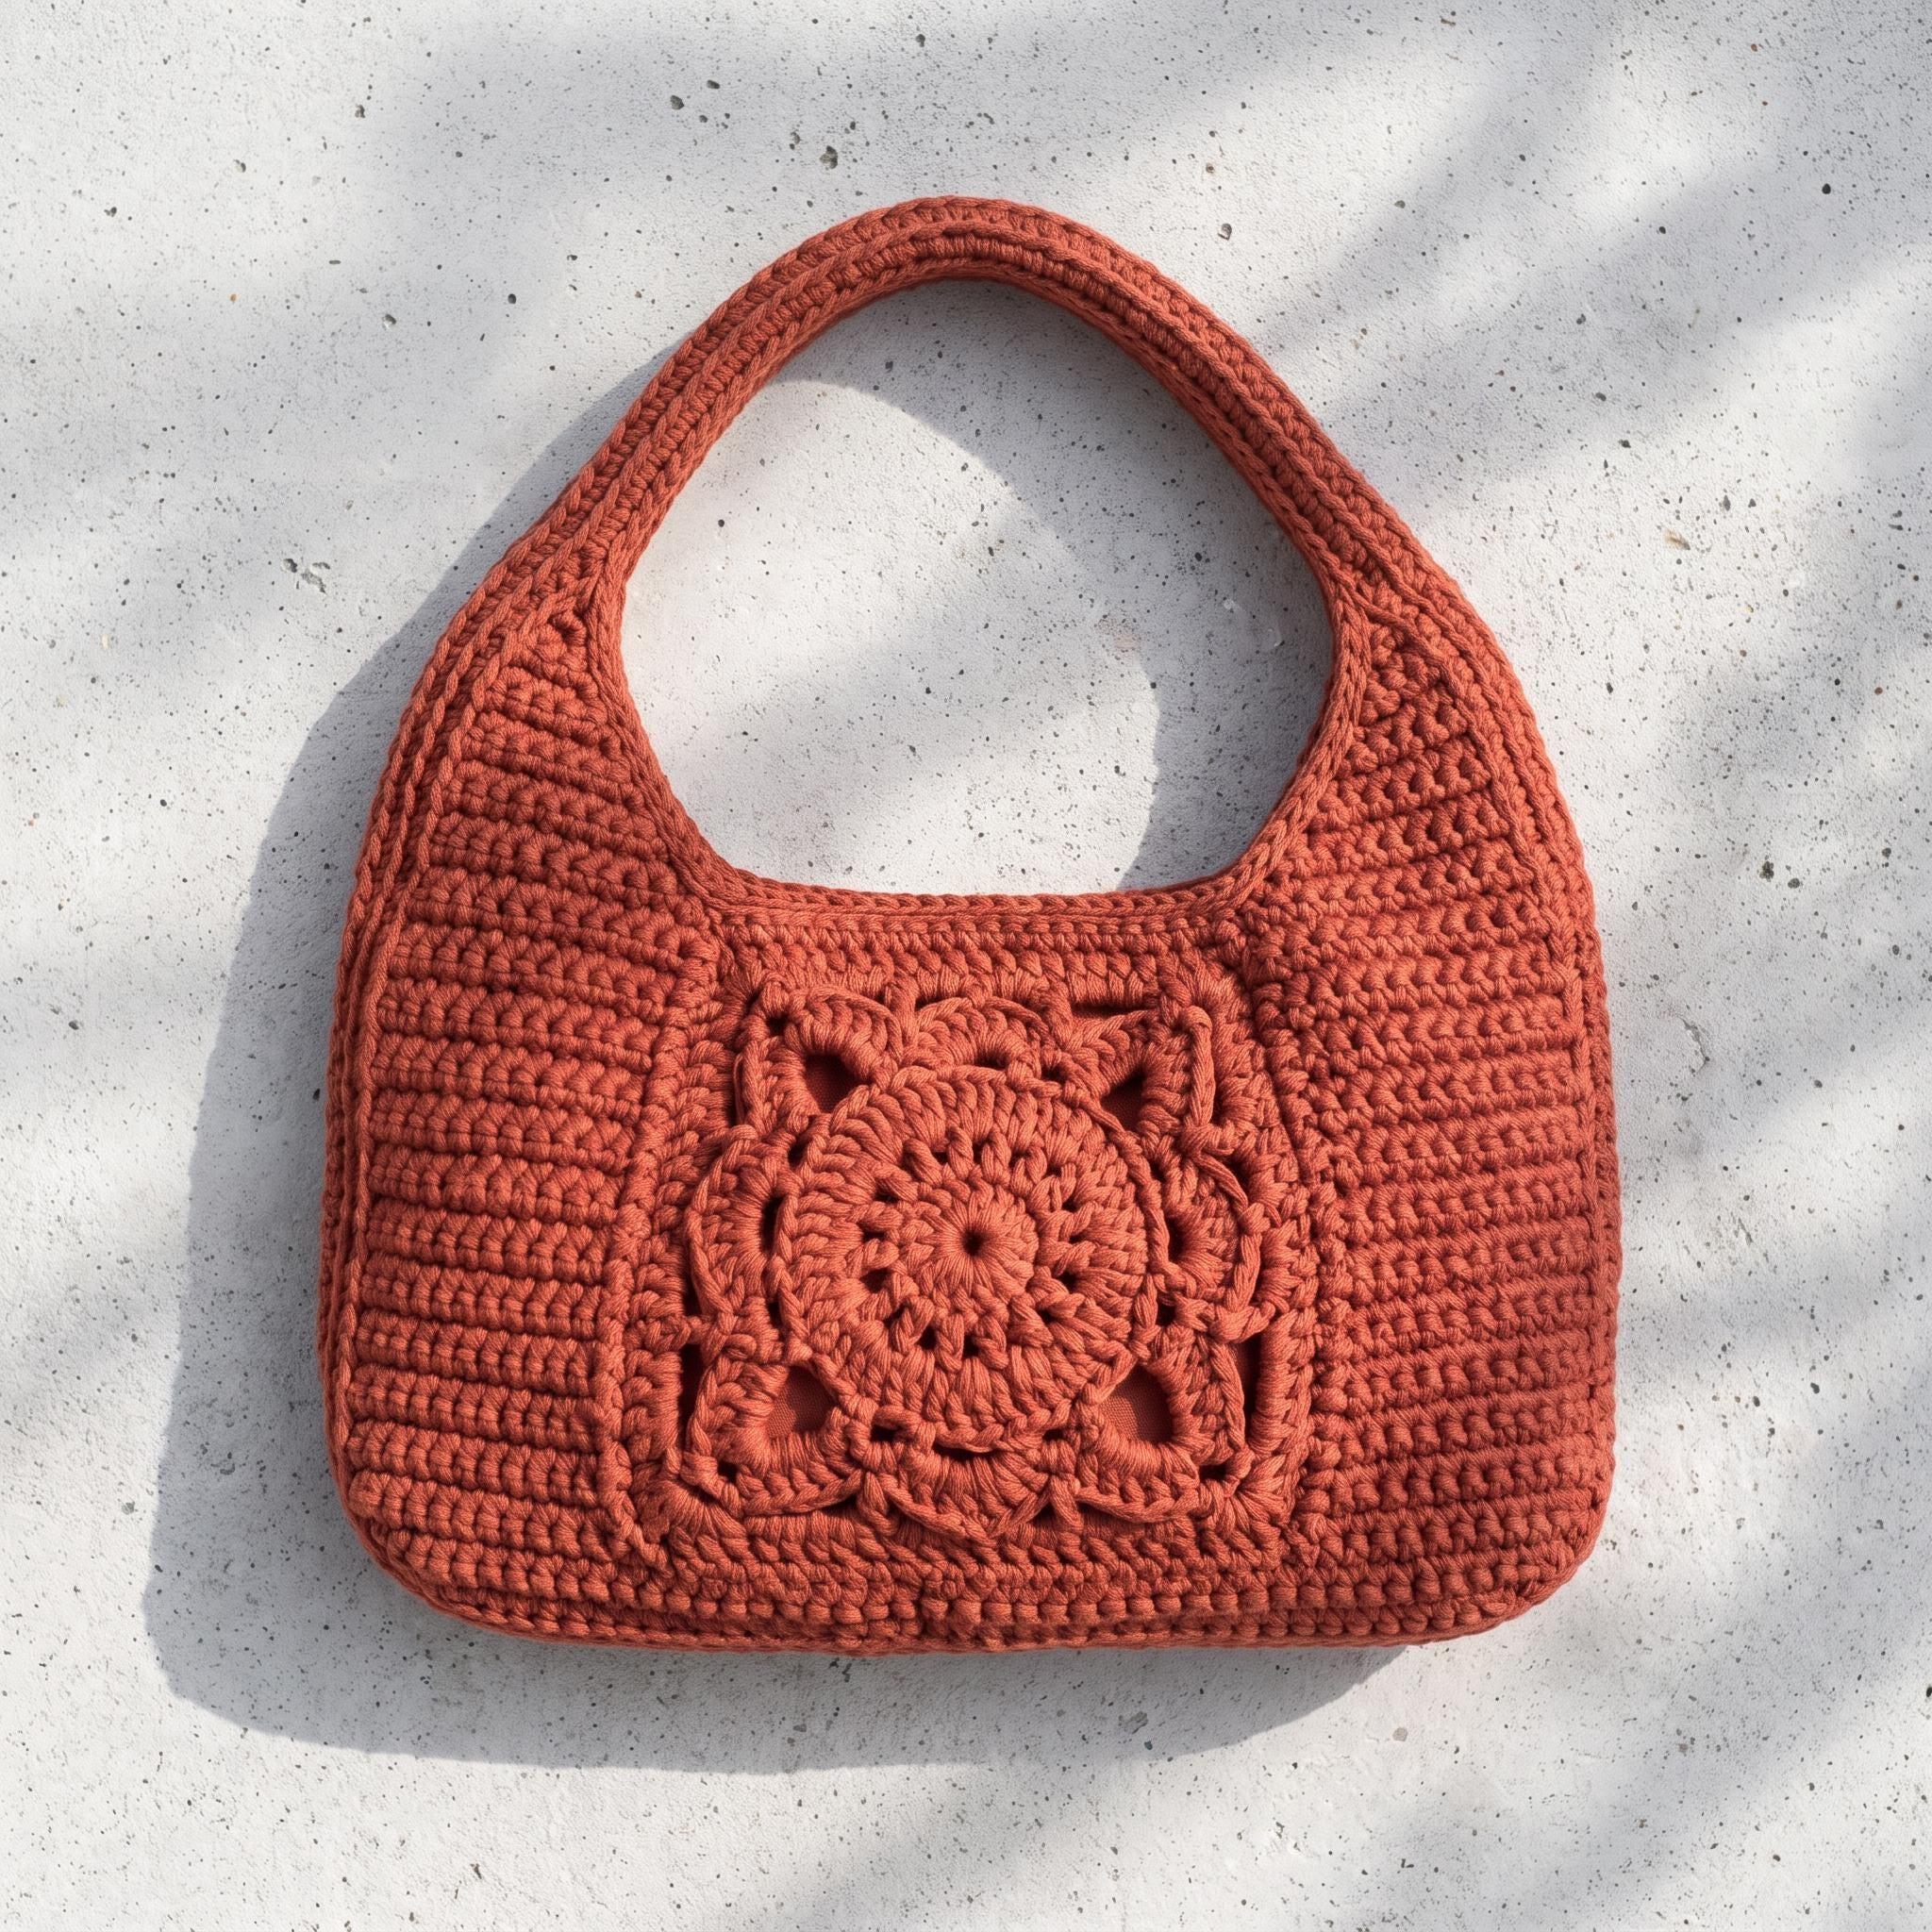
Smaller projects finish faster, and finishing is what keeps beginners going. The Audrey Crescent Purse is a neat half-moon shoulder bag you can complete in an evening or two. The gentle crescent shape is created with simple, well-spaced increases — a brilliant, low-stakes way to learn shaping before you tackle anything bigger. See the Audrey Crescent Purse pattern →
3. Crochet Mesh Market Tote — an airy everyday carry
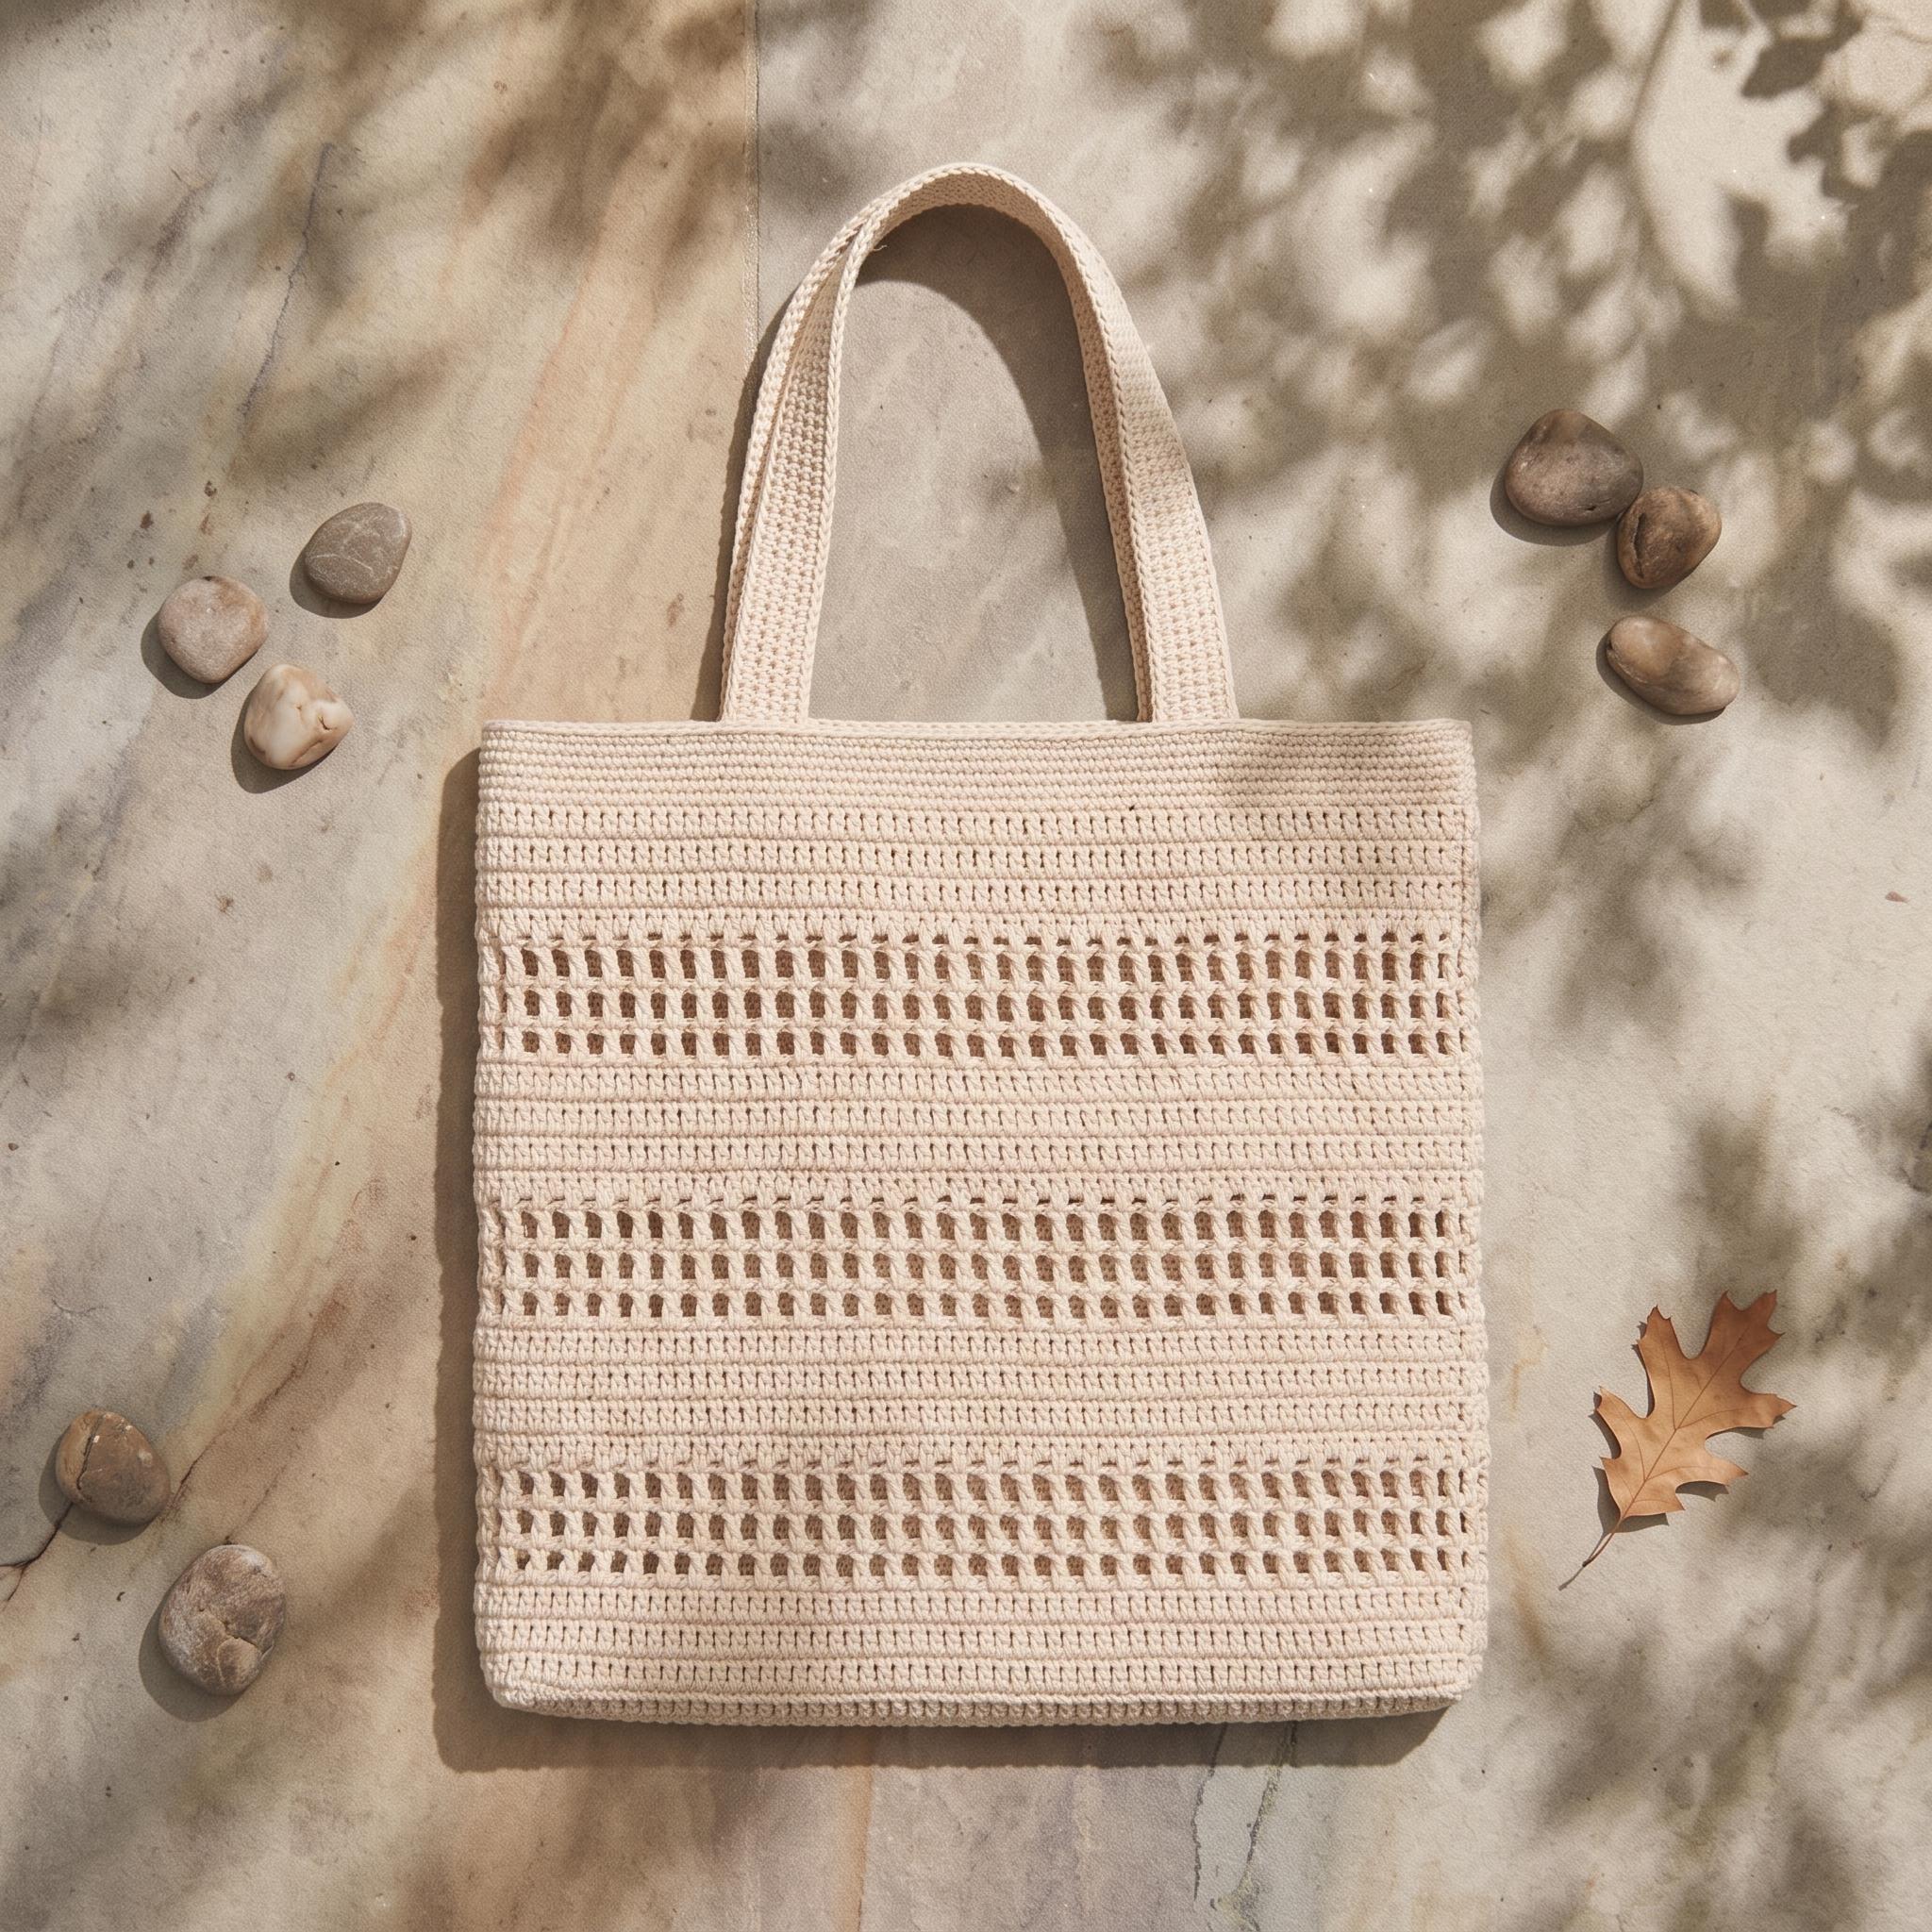
Ready for a bag you'll reach for constantly? The Crochet Mesh Market Tote works up fast in a simple open-mesh stitch — light, stretchy, and perfect for markets, the beach, or grabbing groceries. The mesh looks intricate but it's just one easy repeat, so it's a brilliant confidence build that finishes quickly. See the Crochet Mesh Market Tote pattern →
4. Trace the same skills into a sewn tote
Once you've got the feel for building a bag, it's worth knowing the same "make-it-this-weekend" energy exists on the sewing side too. If you have a machine gathering dust, our Multi-Pocket Utility Tote is the sewing equivalent of a first crochet bag — straight seams, no closures, endlessly useful. Crochet and sew, and you'll never be short of handmade gifts.
5. Level up with a bag you can wear every day
When your stitches feel even and you're ready for something you'll reach for daily, go back to the seamless hobo in a different colour, or size up the crescent purse into a roomier everyday bag. Repeating a pattern you already know — in a new yarn — is the single fastest way to improve your tension and speed.
Yarn and hook tips for your first bag
- Choose a smooth, worsted or chunky yarn in a light-ish colour so you can see your stitches clearly.
- Go down a hook size from the ball band if you want a firmer bag that holds its shape and doesn't stretch out under weight.
- Use a stitch marker at the start of each round when working in the round — it saves you re-counting.
- Weave in ends as you go rather than saving them all for the end; a bag takes strain, so anchor them well.
- Block gently if the top edge waves — a light steam settles the fabric beautifully.
How long does a beginner crochet bag take?
Faster than you'd expect. A small crescent purse is an evening or two; a full-size seamless hobo is a relaxed weekend for most beginners, and quicker once your tension settles into a rhythm. Because a bag is worked over a large, repetitive surface, it's the ideal "watch-a-film-and-crochet" project that eats up rows without you noticing. If you want a finished make sooner, start small and size up later — the skills carry straight across from one bag to the next.
Lining, handles and finishing touches
You don't need a lining to gift or sell a crochet bag, but a simple fabric lining helps it hold its shape and stops small items poking through the stitches — a lovely upgrade once you're feeling confident. For straps, crocheted handles are the easiest option with no extra supplies, while sewn-on webbing or leather handles give a more polished, boutique finish. Add a magnetic snap or a single button-and-loop if you'd like a closure. None of this is essential for your first make, though, so don't let it slow you down — a plain, open-top bag is a perfect place to begin.
Start your first crochet bag today
The best beginner bag is the one you'll be proud to carry, so pick the shape that's calling you — the seamless hobo, the quick crescent purse, or the handy mesh market tote — and give yourself one relaxed weekend. Every pattern is an instant PDF download with photo tutorials and a real maker to answer your questions, so you can be crocheting your first bag in the next five minutes. Browse the full beginner crochet pattern collection to see them all.