July 28, 2026 · 7 min read
How to Sew a Boxy Zip Pouch: A Beginner's Step-by-Step Guide
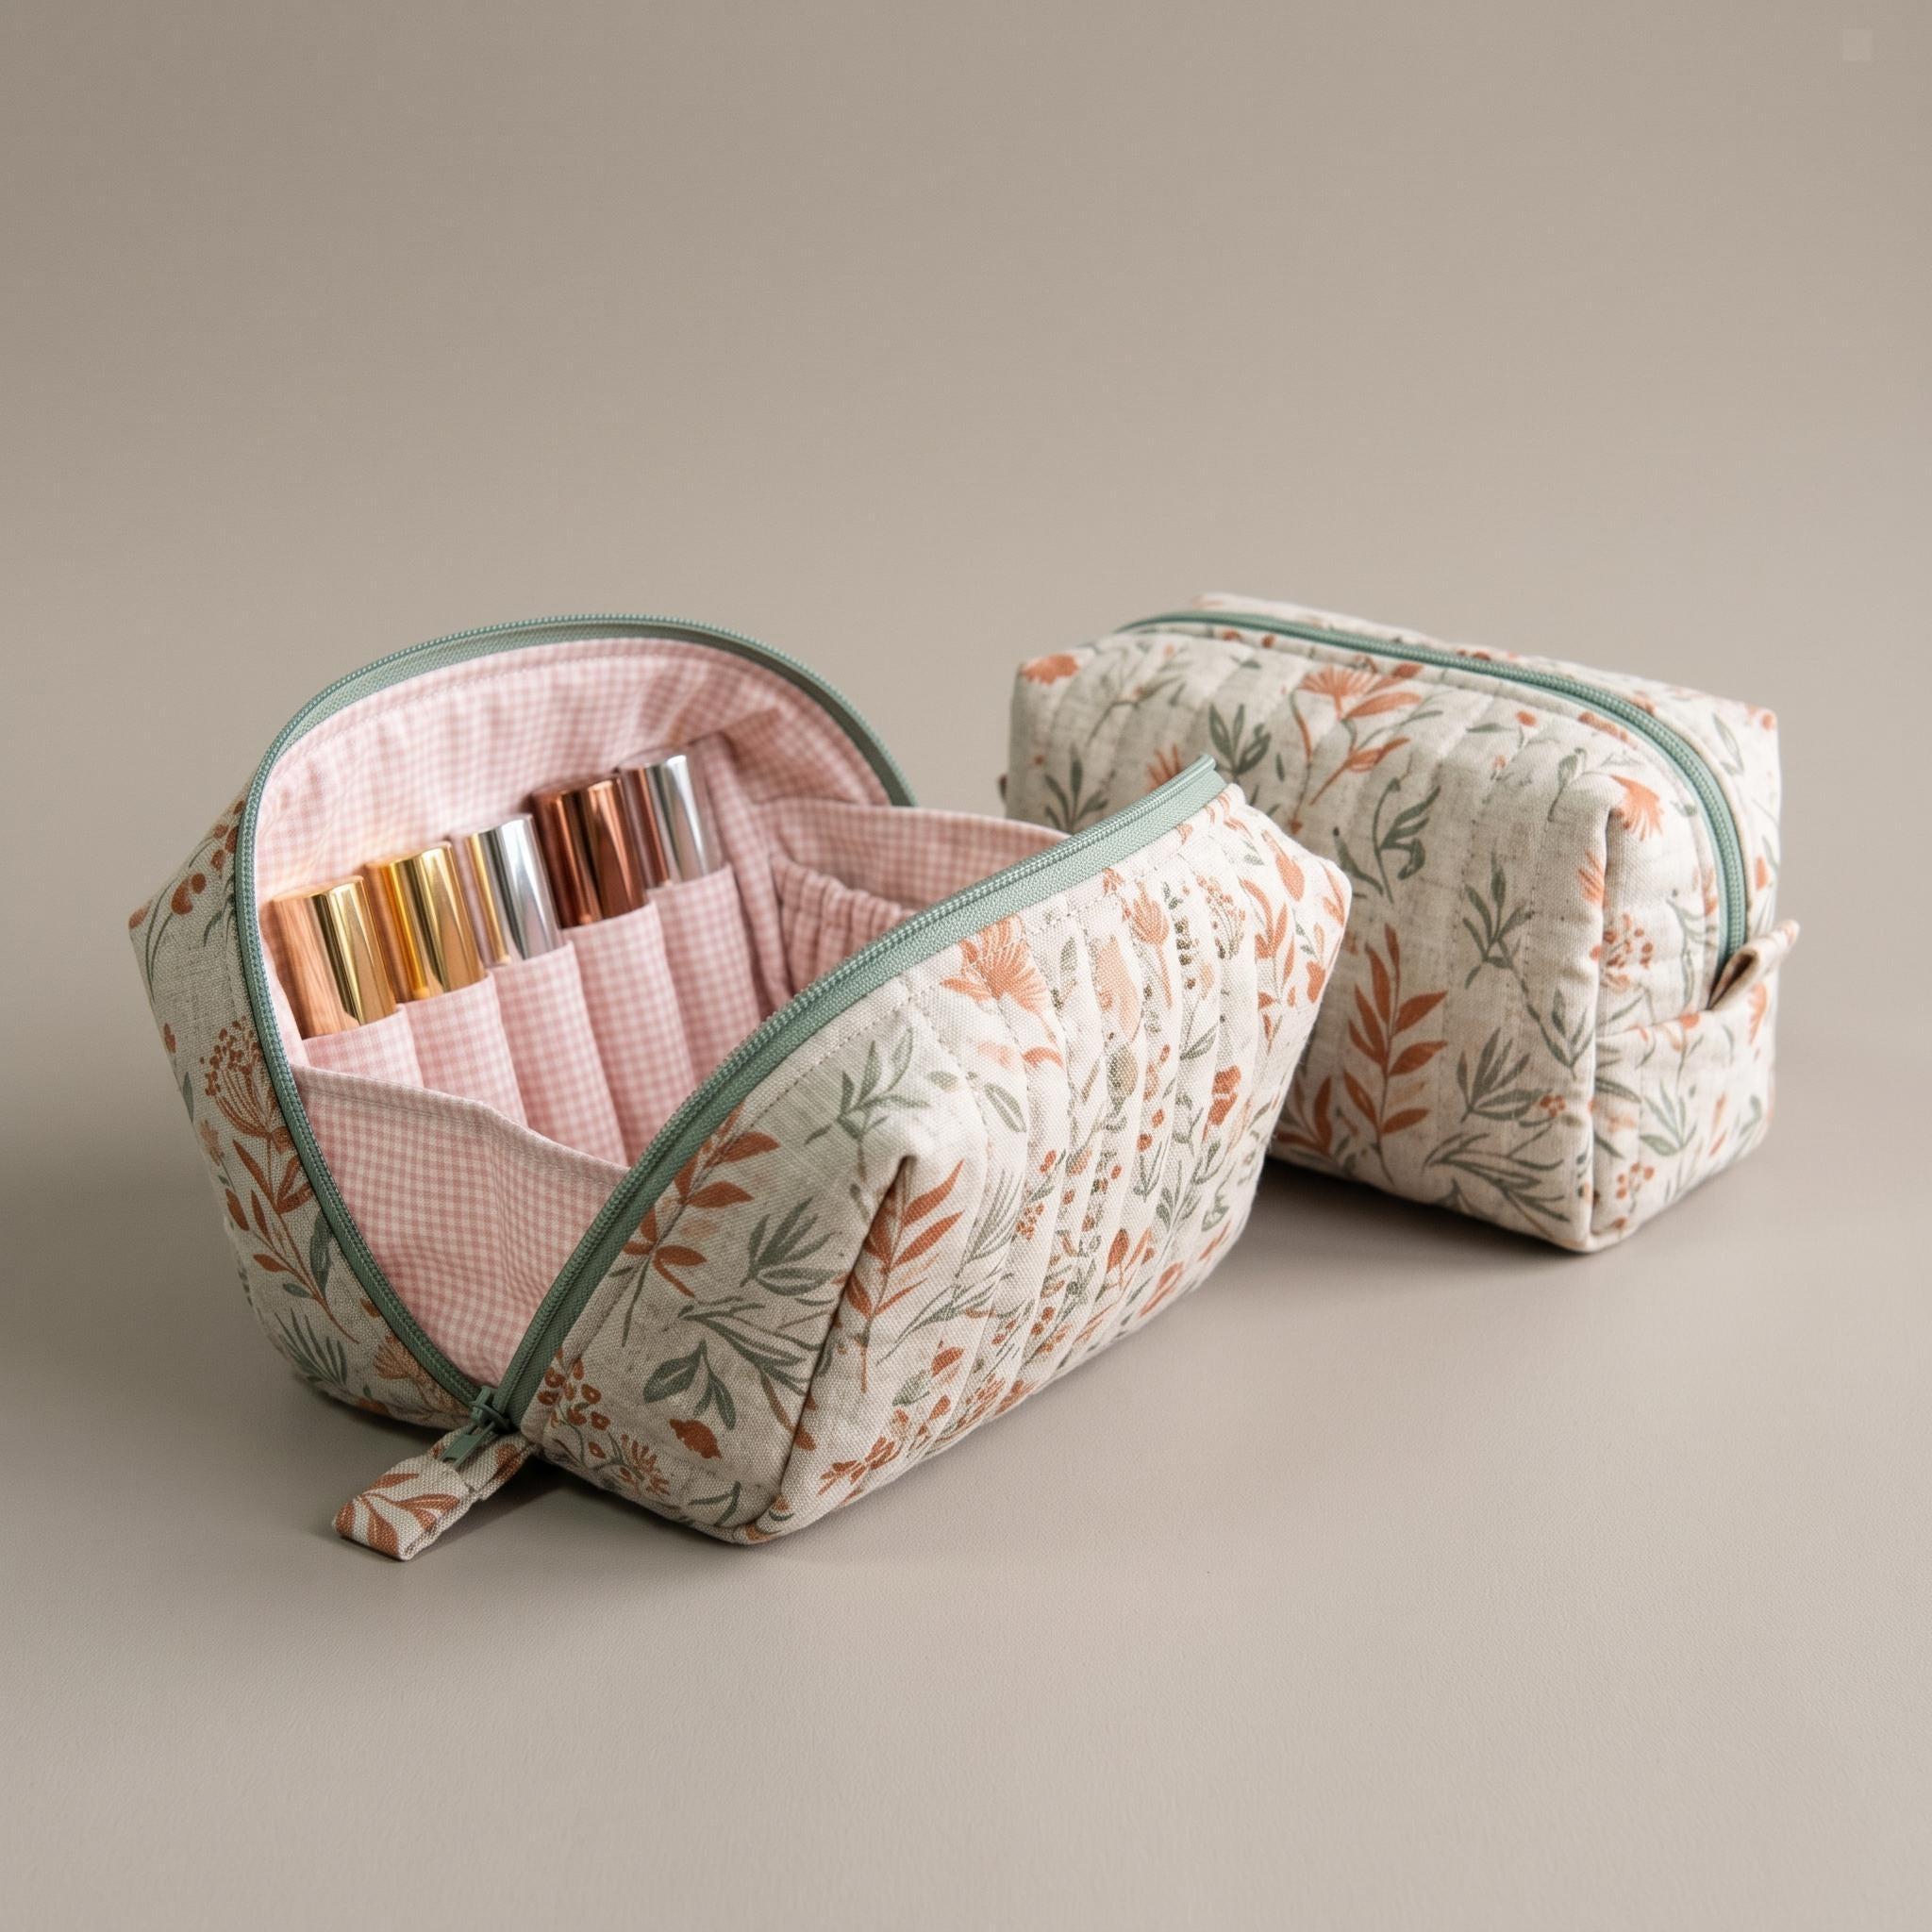
A boxy zip pouch is the project that turns a nervous beginner into a confident sewist. It's small, it uses a little of everything — a zipper, boxed corners, a lining — and it's genuinely useful when it's done. If a zip has been putting you off, this is the friendliest place to face it. Here's how to sew a boxy zip pouch, step by step.
What you'll need
- Outer fabric & lining — quilting cotton or light canvas is ideal (about a fat quarter of each for a small pouch).
- Fusible interfacing or fleece — this is what gives the pouch its structured, "boxy" body.
- One nylon zipper a couple of inches longer than the pouch opening (you'll trim it).
- A zipper foot, thread, fabric clips, and a point turner or chopstick.
Prefer to follow a tested pattern with exact measurements and photos? The Open-Up Clamshell Cosmetic Pouch and the 5-Size Cosmetic Bag are both written frame-by-frame for first-time zipper sewists.
Step 1 — Cut and interface your pieces
Cut two outer rectangles and two lining rectangles to the same size. Fuse interfacing to the wrong side of both outer pieces (and the lining too, if you want extra body). Interfacing is the single biggest reason a homemade pouch looks shop-bought rather than floppy — don't skip it.
Step 2 — Install the zipper (it's easier than it looks)
This is the part everyone fears, so take it slowly:
- Lay one outer piece right side up. Place the zipper face down along the top edge, then lay a lining piece right side down on top — the zipper is now sandwiched.
- Clip, then sew along that top edge with your zipper foot.
- Fold both fabrics away from the zipper and press. Topstitch close to the fold to keep the fabric from catching.
- Repeat with the second outer + lining pieces on the other side of the zipper.
When you open it out, you'll have outer-zipper-lining on both sides. That's the whole trick — the zip is done.
Step 3 — Sew around the pouch
Open the zipper halfway (crucial — you'll turn the pouch through it later). Arrange the bag so the two outer pieces are right-sides-together and the two lining pieces are right-sides-together. Sew all the way around, leaving a 3–4 inch gap in the bottom of the lining for turning.
Step 4 — Box the corners (this is what makes it "boxy")
At each of the four corners, pinch the fabric so the side seam and bottom seam line up, forming a little triangle. Measure in from the point (1–1.5 inches is typical) and sew straight across. Trim the triangle. Those four cuts are what give the pouch a flat base and that structured, boxy shape.
Step 5 — Turn, close, and finish
Reach through the gap you left in the lining and pull the whole pouch right-side-out through the half-open zipper. Push the corners out with a point turner. Tuck the lining gap closed and topstitch it (or hand-stitch with a ladder stitch), then push the lining down inside the pouch and press. Done.
Common beginner mistakes to avoid
- Forgetting to open the zipper before sewing it shut — you won't be able to turn it right-side-out. Ask us how we know.
- Skipping interfacing — the pouch will look limp.
- Sewing too close to the zipper teeth — nudge the zipper pull out of the way as you go.
- Not backstitching at the start and end of the turning gap.
Want the exact measurements? Start from a pattern
This guide gives you the method; a good PDF pattern gives you the precise cutting sizes, seam allowances, and photos for every step — which is what makes your first pouch actually turn out. The Open-Up Clamshell Cosmetic Pouch opens completely flat (great for makeup), and the 5-Size Cosmetic Bag gives you five sizes from one download. Both are instant PDFs, so you can print and start today — and if you get stuck, a real maker answers every message. Browse more beginner sewing patterns when you're ready for your next make.