August 16, 2026 · 8 min read
The Beginner's Guide to Reading Amigurumi Crochet Patterns
The first time you open an amigurumi pattern, it can look like a wall of tiny abbreviations and numbers — "Rnd 4: (sc, inc) x6 (18)" — and it's completely normal to feel a little lost. Here's the good news: amigurumi uses only a small handful of stitches, and once you can read one round, you can read them all. Let's turn that "secret code" into something you follow as easily as a recipe.
Amigurumi is really just a few stitches, repeated
Almost every cute crochet animal you've ever seen is made from single crochet stitches worked in a spiral, with a few increases to make shapes grow and decreases to make them shrink. That's the whole trick. The abbreviations exist to keep patterns short — imagine writing "single crochet" three hundred times — so learning them is the single biggest thing that makes a pattern click.
The abbreviations you actually need (US terms)
Most digital patterns, including ours, are written in US crochet terms. These cover almost everything you'll meet in amigurumi:
- ch — chain
- sc — single crochet (your bread-and-butter stitch)
- inc — increase: work 2 stitches into the same stitch (adds one)
- dec — decrease: combine 2 stitches into one (usually an "invisible decrease")
- sl st — slip stitch (used to join or finish neatly)
- st / sts — stitch / stitches
- rnd — round
- MR — magic ring (how most pieces begin)
- FO — fasten off (cut and secure the yarn)
- BLO / FLO — work into the back loop only / front loop only
- ( ) x6 — repeat whatever's inside the brackets six times
Tip: keep this list beside you for your first two or three projects. You'll have it memorised faster than you'd think.
How to read a single round
Let's decode a real line: Rnd 4: (sc, inc) x6 (18).
- "Rnd 4" — this is the fourth round.
- "(sc, inc)" — do one single crochet, then one increase.
- "x6" — repeat that little sequence six times around.
- "(18)" — the number in parentheses at the end is your stitch count: when you finish the round you should have 18 stitches. That's your built-in check.
The repeat brackets
Brackets group a sequence you'll repeat around the round. "(sc, inc) x6" means you work "sc, then inc" six times. If a round says "(sc x2, inc) x6", you work "sc, sc, inc" six times. Simple as that once you've done it once.
The stitch count in parentheses
That end number is the most useful thing in the whole pattern. Finish a round, count your stitches, and compare. If the pattern says (18) and you have 18, you're perfect — carry on. If you have 17 or 19, find the missing or extra stitch now, while it's easy, instead of three rounds later when it turns into a lopsided head.
The magic ring, demystified
Most amigurumi starts with a magic ring (sometimes written "magic circle" or MR). It's simply a loop of yarn you crochet your first round into and then pull tight — which closes the hole at the start so your toy doesn't have a gap where the stuffing peeks out. It feels fiddly for about a day and then becomes second nature. If you truly can't get on with it at first, start with "ch 2, then 6 sc into the second chain from the hook" as a beginner-friendly stand-in, and switch to the magic ring later.
Working in a spiral (and why a stitch marker saves you)
Unlike a scarf, amigurumi is usually worked in a continuous spiral — you don't join at the end of each round, you just keep going. That's what gives it a smooth, seamless surface. The catch: without a join, it's easy to lose track of where a round begins. One cheap tool fixes it:
- Pop a stitch marker (or a scrap of contrasting yarn) into the first stitch of a round.
- When you crochet back around to it, that round is done — move the marker up into the new first stitch and keep going.
Tip: this one habit prevents the most common beginner mistake, which is quietly adding or dropping a stitch at the "seam" of the spiral.
Counting stitches without losing your mind
- Count at the end of every round, not mid-round, and check against the number in parentheses.
- Learn to see the "V": each single crochet makes a little V along the top. Counting Vs is counting stitches.
- Don't count the loop on your hook or your starting slip knot as stitches.
- If a count is off, gently un-crochet (makers call it "frogging") back to your last correct round. It's not failure — everyone does it, every project.
US vs UK terms — a quick heads-up
Crochet has two naming systems, and mixing them up is a classic early stumble. In US terms, "single crochet (sc)" is the short, basic stitch amigurumi lives on. In UK terms, that exact same stitch is called "double crochet (dc)" — confusing, because "dc" means something taller in US terms. Always check which system a pattern uses; good patterns state it at the top. Ours are all written in US terms with photo tutorials, so you never have to guess.
The best way to learn: make one small thing
Reading about patterns only gets you so far — the abbreviations stick the moment you actually crochet them. Pick a small, single-piece make for your first go, so there are no parts to sew together yet:
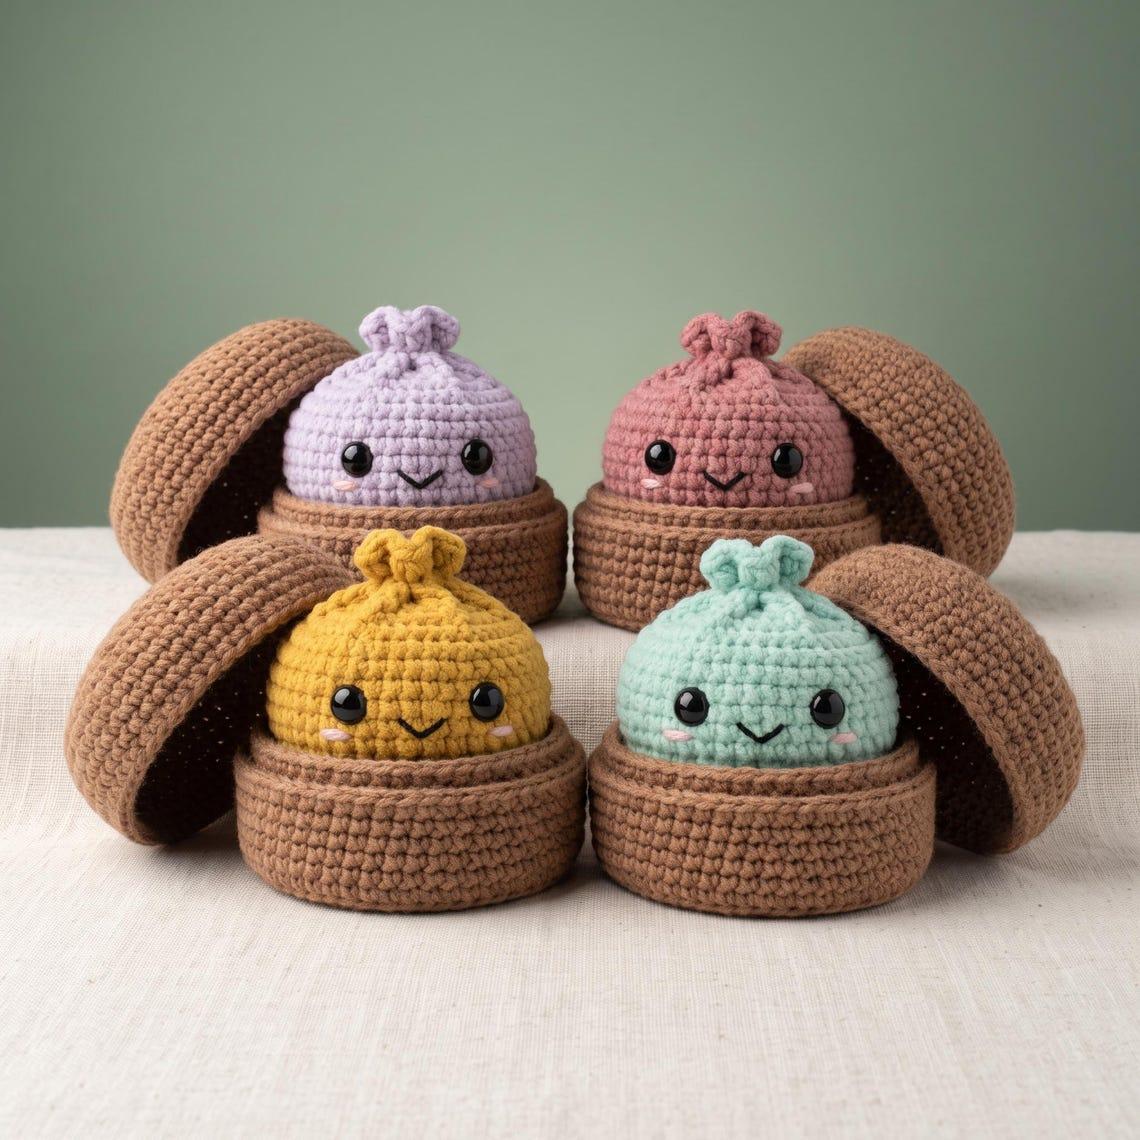
- The No-Sew Dumpling — round, squishy, and genuinely a first-project make.
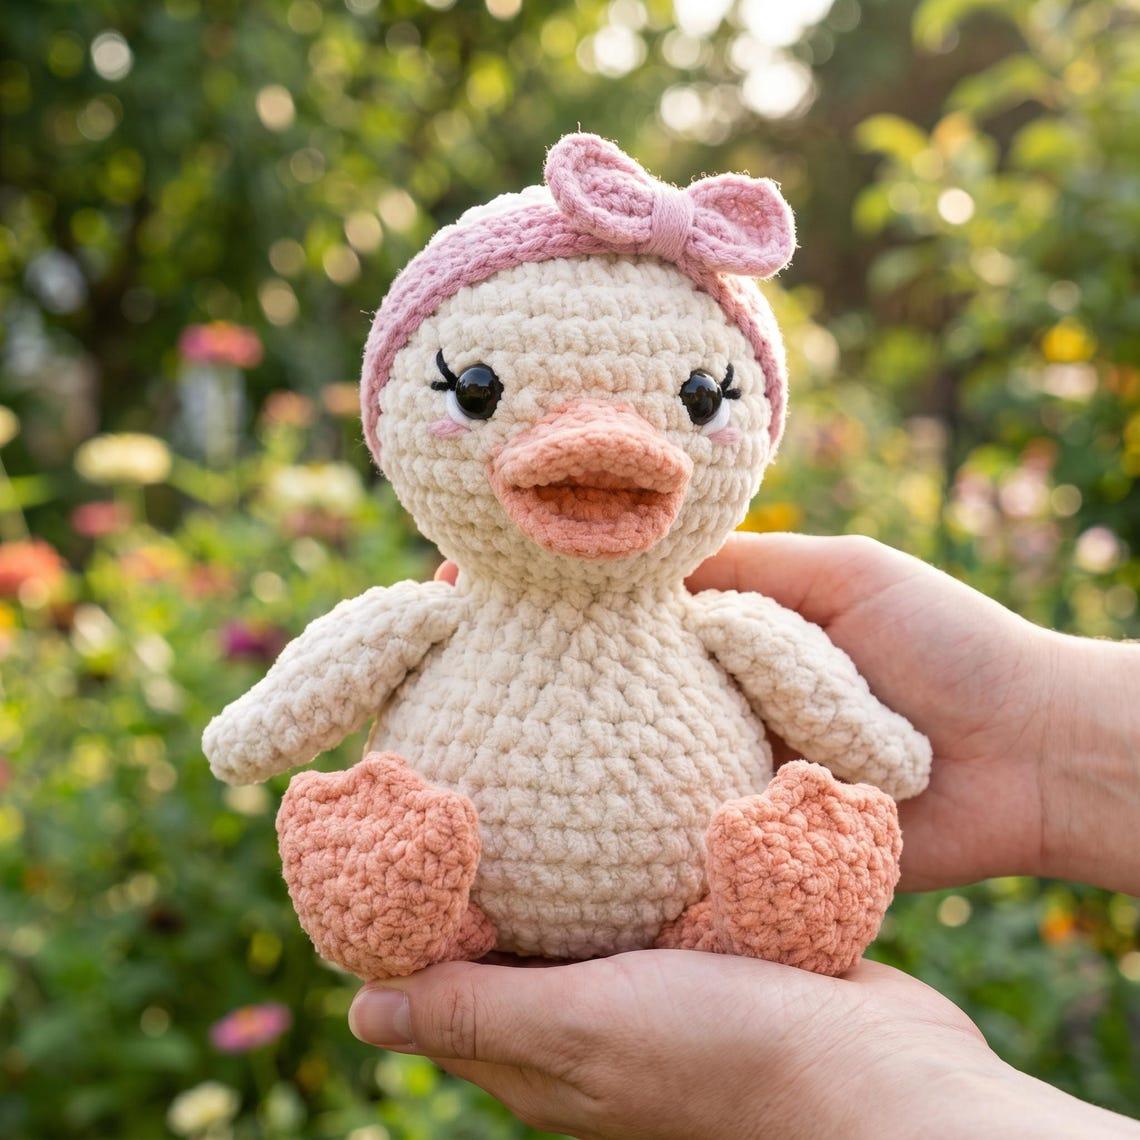
- The Itty Novie Duckling — a tiny, quick, no-sew kawaii duck.
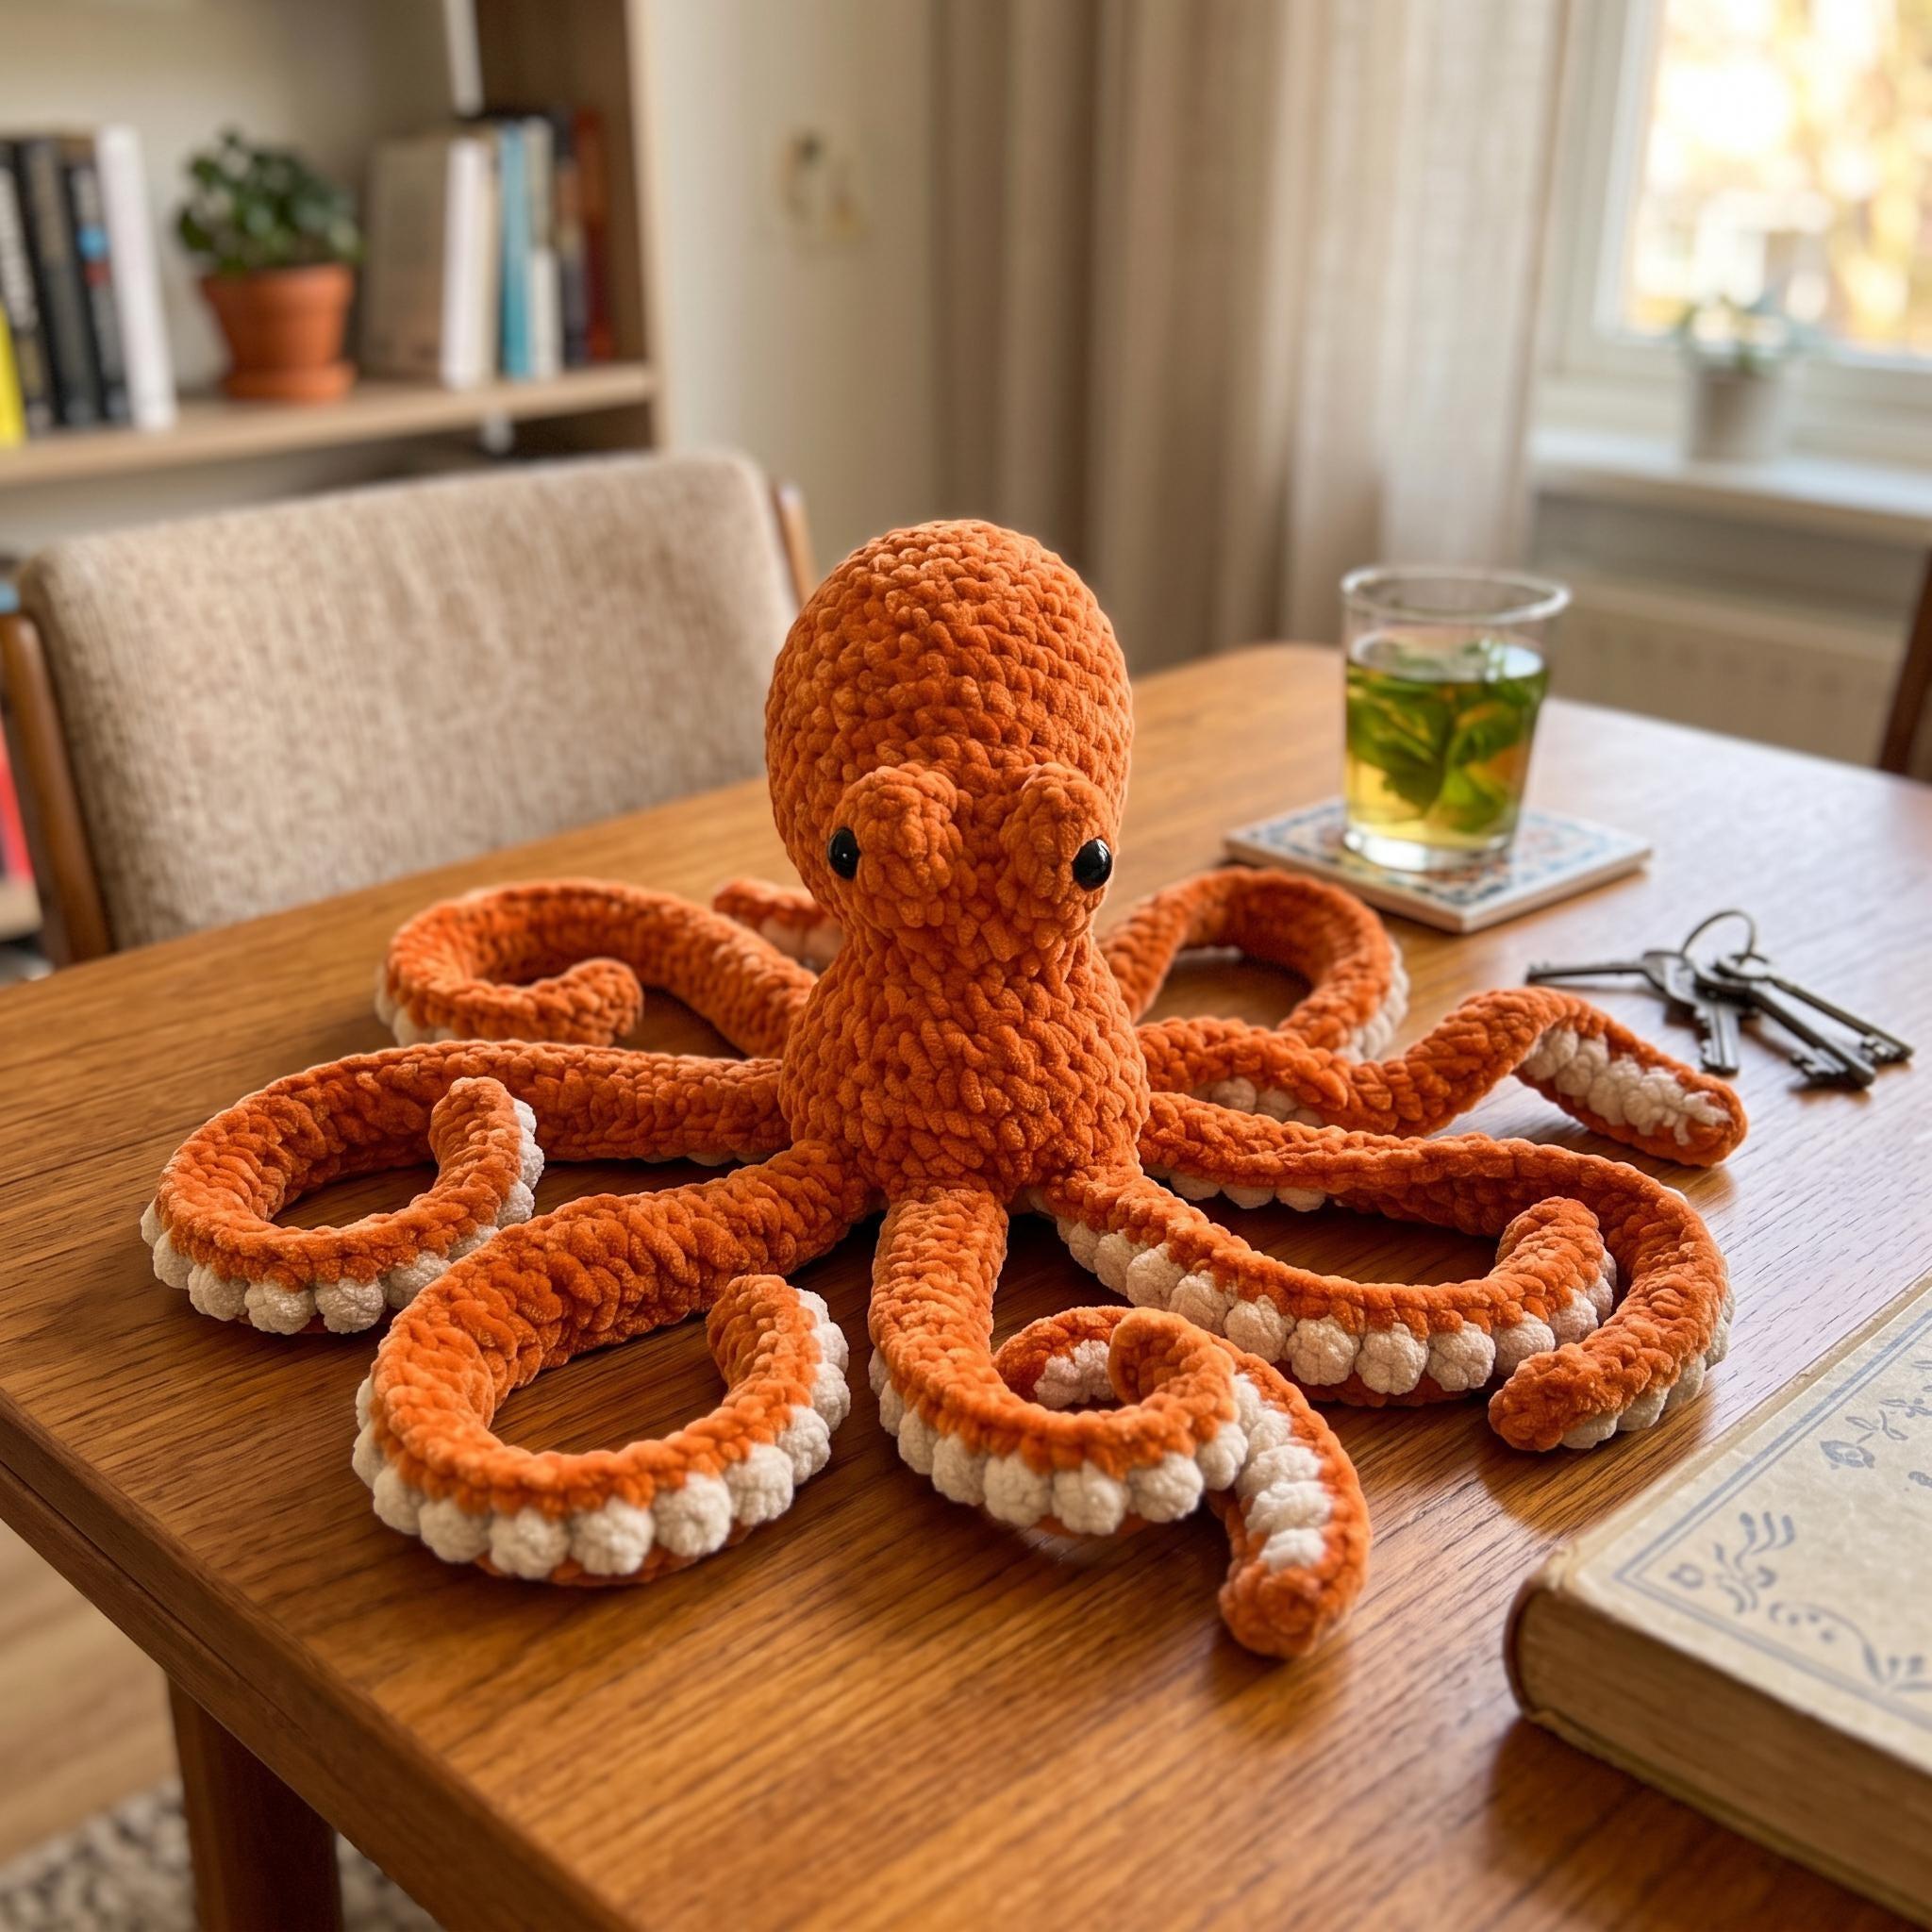
- Ready for a character? Anchor the Octopus uses only the stitches above.
Each one is an instant PDF download written in US terms with step-by-step photos — and a real maker to answer your questions if a round ever misbehaves. Browse the full beginner crochet collection when you're ready for the next one.